Friday, May 30, 2014

Bittergourd Vermicelli Soup with Tofu & Prawns


On days when I feel lazy and do not want to cook a meal that requires alot of washing and cleaning, I fall back on our favourite bee hoon soup.

All you need is a pot of anchovy stock and whatever ingredients that you can find in the fridge that goes well with the vermicelli soup and that settles a meal.

Ingredients for anchovy stock
(Serves 2)
1.5 to 2 litre of water
100g of anchovies aka ikan bilis (remove heads)
1 onion (deskin) - optional
1 carrot (deskin and cut into 3 pieces) - optional

1. Rinse anchovies in water till it turns clear, drain and leave aside.
2. Put the pot of water to boil then add washed anchovies, onion and carrot.
3. Let it boil for 30 minutes and then turn down heat to small and let simmer for another 30 minutes.  Turn off heat , remove anchovies, onion and carrot and leave stock till later use.


Ingredients for Vermicelli soup
3 cubes Vermicelli aka bee hoon (soaked till soft)
8 pieces of prawns (deshell & devein)
1 box of Silken Tofu (cut into cubes)
1 bittergourd (wash & cut into small slices)
1 tomato (cut into 6 slices)
8 button mushrooms (cut into halves)
4 mushroom meatballs (cut into halves)
80g minced pork
Salt, to taste

Garnishing - Optional
Spring onions
Fried onions
Sliced red chilli

1. Season minced pork with a dash of pepper, 1/2 tsp of cornflour, 1 tsp of soy sauce, 1/2 tsp of sesame oil, few drops of cooking wine. Leave aside.

2. Put a small pot of water to boil. Put in soaked vermicelli and blanch it for 30 seconds. Drain the water, remove and divide vermicelli into 2 bowls.

3.Bring the pot of anchovy stock to boil and add sliced bittergourd. Cover and let boil for 3 minutes.

4. Scoop out seasoned minced pork into round bite sizes and drop gently into anchovy stock followed by prawns.

5. Add mushroom meatballs, button mushrooms, tomato and tofu. When boiled, add salt to taste.

6. Scoop ingredients and soup over blanched vermicelli.  Top with garnishings and serve.

Tuesday, May 27, 2014

Shandong-style Dumpling


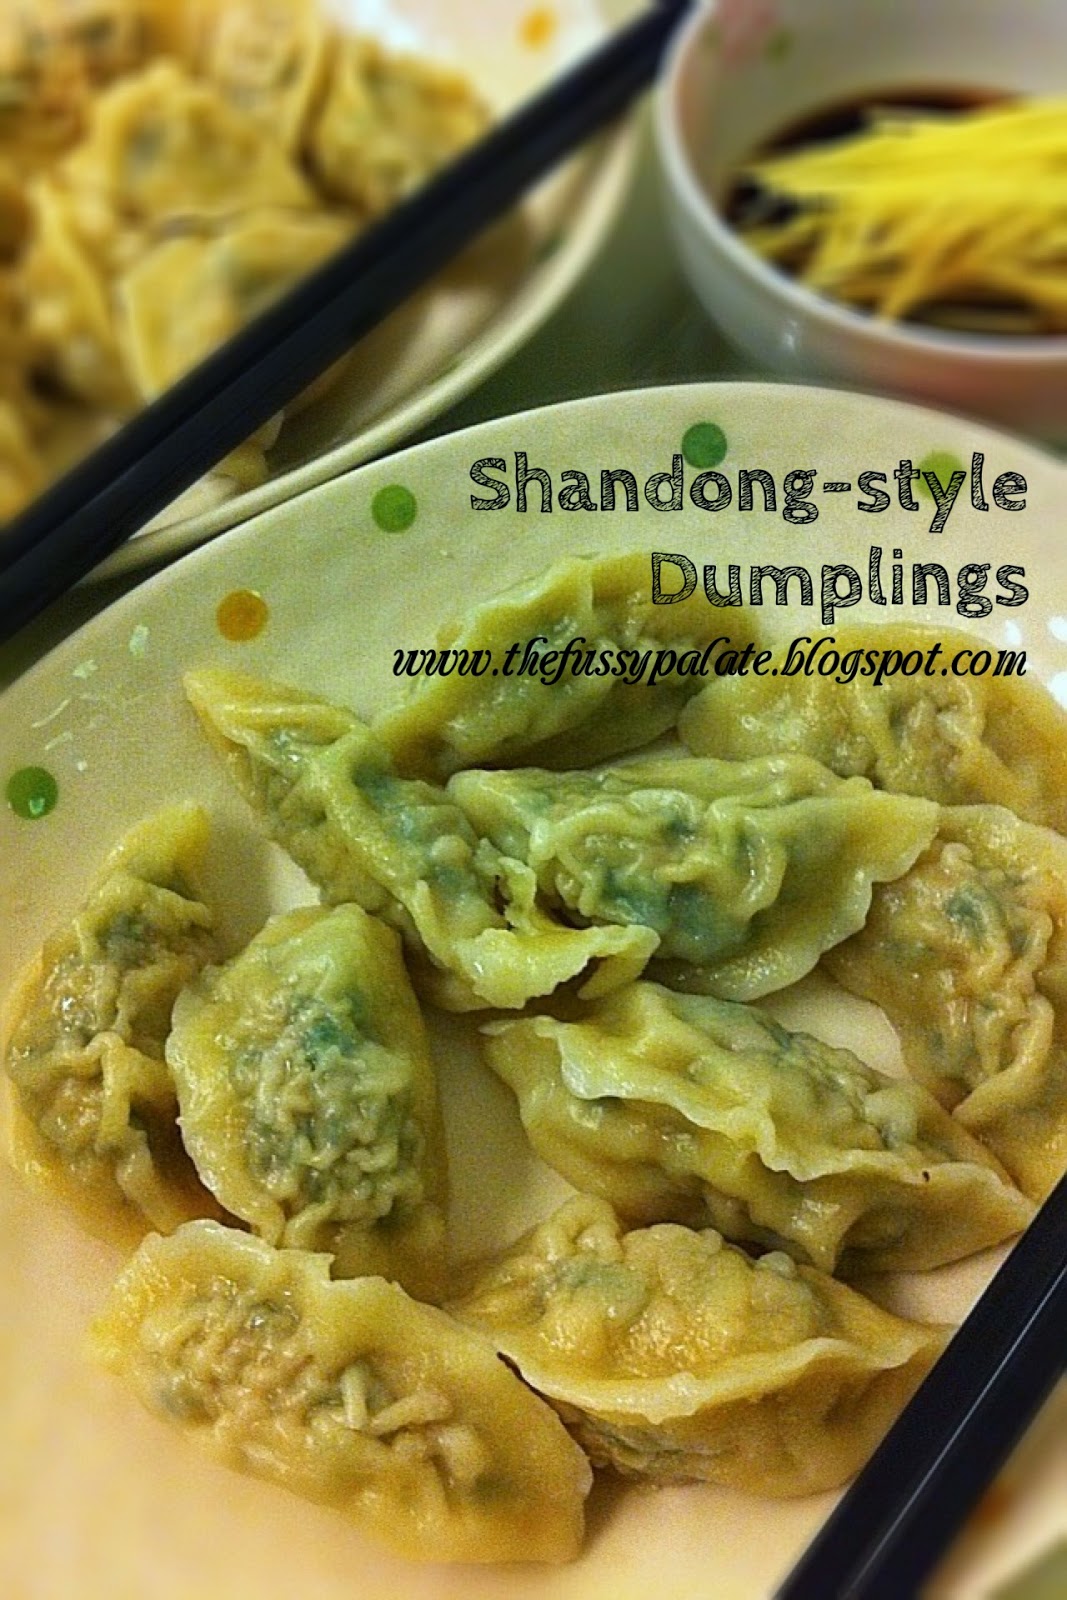
Jiaozi (饺子 in chinese), to me are like little "gems" filled with flavourful goodness that Hubby and I both love.

Having had enough of the western-style food during the past 2 weeks of vacation, I decided that I should go the chinese way for the time being, and so making and eating jiaozi is one of the way to go!  I love how we can cook them in noodles or even eat it on its own!  Good for times when you do not feel like cooking and cleaning much.  All you have to do is just to boil a pot of water and dump the frozen dumplings in and voila!, you get a fast meal out of it - best when eaten with vinegar and thinly sliced ginger.

Not wanting to take the shortcut this time, I made the dumpling wraps instead of getting ready-made ones.  So, I went on a recipe-search spree and finally decided to go with Chubby Hubby's Shandong-style Jiaozi recipe.

It was a nervous first time for me and I had my worries. All the worries about dumpling wraps turning out too thick, dough will be too difficult to hand etc turned out to be unfounded.  All I can say is, the first few wrappings will be abit difficult to handle, and the wrapped dumplings will not look as pleasant but few more practices later you will be good on your own.

This recipe is truly a keeper.  I will use this recipe again if I need my jiaozi fix next time!

 Shandong-style Jiaozi by Chubby Hubby
 Makes about 75 dumplings

 For dough
 250g plain flour
 125ml cold water

 For the filling
 500g ground pork (not too lean. Remember, fat is flavour!)
 125ml water
 2 tablespoons soy sauce
 2 tablespoons Shaoxing wine (or dry sherry)
 1 egg
 1 tablespoon toasted sesame oil
 1 tablespoon minced peeled fresh ginger
 50g dried shrimps (“hae bee”), soaked till soft, drained and finely chopped
 500g grated and chopped courgette (zucchini)
 250g finely chopped Chinese chives (“koo chye”)
 Salt and pepper to taste

 For the dipping sauce
 125ml soy sauce
 2 tbsp Chinese black vinegar or rice vinegar
 1 tsp sesame oil
 1 teaspoon of chili paste or oil (optional)

 Special equipment:
 a 15cm rolling pin or dowel
 A large, covered pot in which to cook the dumplings


Make dough:
Put the flour in a large bowl, then add water, stirring with a wooden spoon until a shaggy dough forms. Turn out dough (including any loose flour) onto a work surface and knead until smooth, about 5 minutes.  If the dough is too sticky, mix in some extra flour. If it seems a bit dry, sprinkle with a bit of water. Form into a ball and cover well in plastic  wrap. Let stand at room temperature at least 30 minutes.

Make filling while dough stands:
Put the ground pork in a bowl, and start mixing a bit of water in, stirring in one direction only. Chopsticks are ideal stirring implements if mixing by hand. Continue adding water, the soy sauce and the wine and stirring all the while until the filling looks a bit sticky. You may not need all the water so don’t dump it in all at once!


At this point, add in the egg, sesame oil, ginger, dried shrimp, zucchini, chives and salt if needed. Fry off a little patty to check the taste; it should be highly seasoned and almost too salty, as it will be put into skins later on.


ASSEMBLY
After the dough has rested, continue kneading 5 more minutes on a lightly floured surface. The dough should be elastic, smooth and not sticky (it should feel as soft and silky as a baby’s bottom!). Divide the dough into two and cover the piece you aren’t using with some plastic wrap. Roll the other piece of dough into an even rope, about 20cm long. Cut the rope into 1.5cm lengths to form about 30 pieces. Roll each bit into a ball and flatten with your palm. Start rolling out each small disc of dough with a rolling pin that has been lightly dusted with flour into 7.5cm rounds, rolling from the centre to the edges, making the centre slightly thicker and the edges thinner. Remember to keep all unused dough covered when not using.


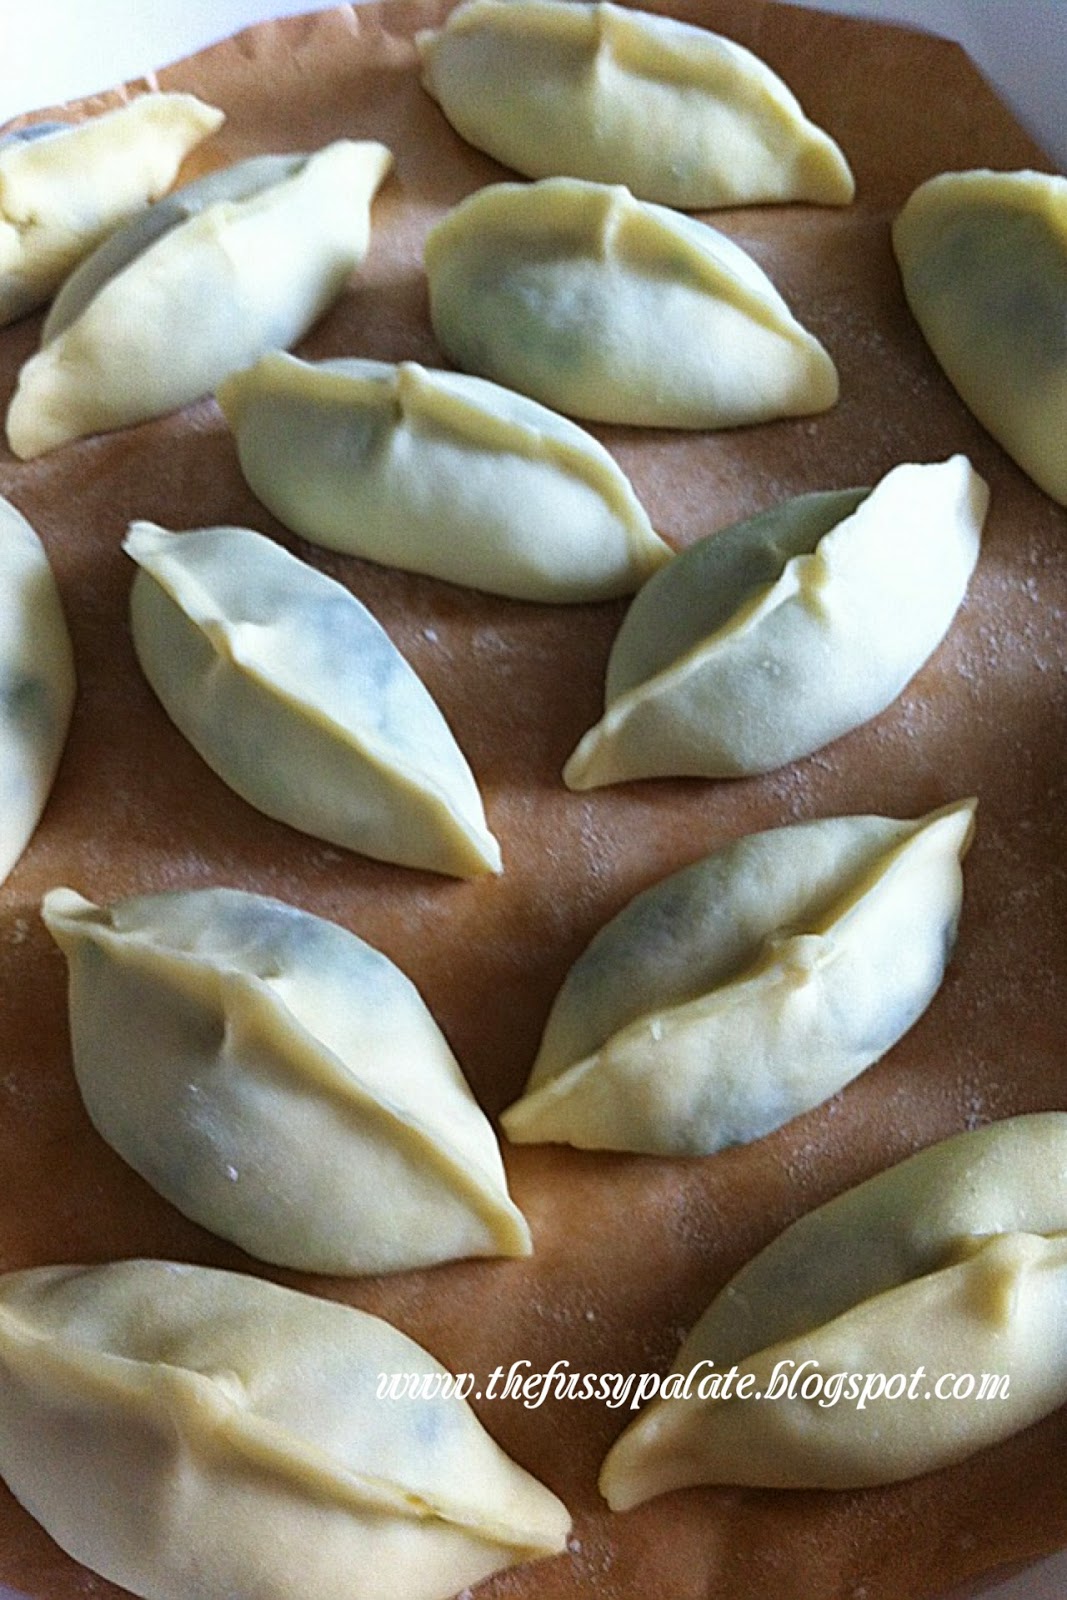
Line a tray with parchment paper or dust well with flour. Work on one dumpling at a time, keeping the remaining wrappers covered. Place about two teaspoons of filling in the middle of a wrapper. Starting at one end, seal the dumpling together by squeezing to form a crescent shape. Place filled dumpling on the prepared baking sheet and cover with plastic wrap. Repeat with remaining ingredients until all the wrappers are filled.

No nice neat pleats for my jiaozi this round.


Bring large pot of water to boil. Add enough jiaozi to cover the base of the pot about one and a half times, stirring to make sure none stick to the base of the pot. Cover.

When it comes to a boil, add 250ml cold water. Cover and repeat two more times. When the water comes to a boil for the third time, the dumplings are ready. Scoop out with a spider onto a plate and serve immediately with sauce on the side.


NOTE: The theory behind adding cups of water is that if you stop it before the third boil, the meat will not be cooked through. Also, if you don’t add cold water each time, the jiaozi will fill up with air and explode.


Make dipping sauce:
Combine vinegar, soy sauce sesame and chilli, if using.


TO KEEP
You can freeze uncooked dumplings for later use. Freeze dumplings separately on trays until firm, then put them in freezer bags. When cooking from frozen, cook exactly the same way as above.

Saturday, May 24, 2014

Chocolate Cinnamon Wholemeal Bread


Needed a chocolate fix, hence I made a chocolate loaf bread with some extra bites.

The cranberries and almond flakes were actually not meant to be the bread toppings. I had wanted to incorporate them inside the bread!!! Guessed it right? Yup, I was too engrossed with punching down the dough and rolling it up for final proof that I forgot to add the dried fruits and nuts.  Laziness got the better of me, and so I decided to just make do with it and sprinkle them on top after a milk glaze and finally sent it to bake. I thought the "decorated" loaf looked good! Heehee!


15 minutes into the baking time, I took a peep. The heavily laden loaf top sank. My heart sank too!  Oh well, not my day. Fortunately, the end product did not look too bad especially for one with a sunken top.  Softness stayed till the 3rd day, and this was all that matters, at least to me :)

Lesson learnt. Never use dried fruits on loaf tops!


Recipe by Kimmy-cookingpleasure
I made some variations (in blue) to it though.
I halved the recipe to make 1 loaf.

Cinnamon Walnut Loaf Bread

Ingredients for Overnight Dough
150 gm bread flour
150 gm plain flour
3 tsp instant yeast [actual is 3.5 tsp]
250 ml water
  • Mix all ingredients in a mixer bowl into a soft rough dough.  Cover with a clean kitchen towel and leave to proof for several hours or overnight at room temperature. 
Ingredients for Bread Dough
300 gm bread flour [I used 270 gm bread flour and 30 gm wholemeal flour]
2 tbsp milk powder (I used cocoa powder)
1 tsp cinnamon powder
3 tbsp sugar
1 tsp  salt
80 gm chopped toasted walnuts (I used 2 tbsp almond flakes and 2 tbsp of dried cranberries)
150 ml water [keep some first, if all is used, the dough may be sticky and difficult to handle]
60 gm butter [I used about 50 gm]

Soak the dried cranberries in water for 5 minutes, drain and leave aside for use.
  1. Add all the ingredients [except butter and walnuts] to the overnight dough.  Knead until well combined and dough is soft for about 10 minutes then add in butter.  Continue kneading until soft, smooth and elastic.  Knead a further 3-5 minutes and dough does not stick to the fingers when touched or window pane stage.
  2. Shape into a ball and cover with a clean cloth to proof for 15 minutes or until double in size. Punch down dough.
  3. Divide dough into 2 equal portions.  Roll and fold each portion into thirds, then roll into a rectangular piece.  Sprinkle all over with chopped walnuts (almond flakes and dried cranberries) then roll up  tightly like swiss roll style into a roulade.  Seal the edges well.   Place in baking tin [Pullman's tin] and leave to proof in oven for an hour or until double in size [almost reaching the rim of the baking tin]. 
  4. Bake in preheated oven at 170 degrees C for 30 minutes.  Remove to cool on rack immediately after baking.

Thursday, May 22, 2014

Rich Chocolate Chiffon Cake


Took a break from work and got a 2-weeks plus period out of Singapore with my hubby.  We went to Central and Eastern Europe.  Free & easy, no tour.

We never like being led around on tours, hehe.  We like to sleep and laze till late, eat when we feel like it, travel at our own pace, everything with no restrictions.

It was a good break - one that we needed badly.  No stress, just play.  All we need to worry about was where to go the next day, and what should we eat for breakfast, lunch and dinner.  Life was good, and how we wish it would stay that way.  I super miss the nice cold weather and super cheap
thirst-quenching beer there!

Now that I am back to reality, life needs to be get back to normal, right? So very naturally I start my cooking and baking regime again (yeah!!!).

I wanted to do something using the chocolate pudding I "smuggled" back (I had it checked in with my big and heavy luggage).

Actually I couldn't quite make out if it is chocolate pudding or chocolate cream but well, I bought it from the supermarket in Prague and fell in love with it.  It was so smooth, creamy and best of all, rich in taste (I googled and it is actually a pudding-like dessert, and you can make them at home too!  Marketplace do sell them but I have never seen these in NTUC before and ah! I saw NTUC Finest selling it too but not Danette brand).   I just had to bring some back and bake something with it!  And so I did.  A decadently sinfully rich chocolate chiffon cake!

The chocolate smell came out and lingered in the kitchen while baking halfway in the oven.  Finally had the cake done, cooled and then cut to reveal the moist middle sections.

Hubby had it for breakfast the next day and said "this chocolate chiffon cake is delicious, really moist and rich, yet not too sweet".  It turned out the way I wanted it to be.  I am a happy gal. :)

Rich Chocolate Chiffon Cake

A)
70g semi-sweet chocolate block or chips (I used Danette chocolate pudding)
Caster oil 90g

B)
6 egg white (about 230g)
60g caster sugar
1/4 tsp cream of tartar

C)
5 egg yolks (about 80g)
80g caster sugar

D)
130g water

E)
80g Cake flour / Plain flour
50g cocoa powder
1/4 tsp salt


1.  Chop semi-sweet chocolate block into chunks and double-boil it with the oil.  Stir till well combined.  Set chocolate mixture aside to cool.
(As I used ready made chocolate pudding, I just mixed it together with the oil, no double-boiling needed.)
2.  Whisk egg white and cream of tartar till frothy.  Add caster sugar in egg white in 3 additions and whisk till stiff peak.  Set aside.
3.  Using the same whisk, whisk (C) till pale in colour and stir in chocolate mixture.
4.  Add (D) and whisk till combined.  Thereafter sieve in (E).
5.  Fold in one-third white meringue into yolk mixture.
6.  Fold in remaining meringue gently.
7.  Pour batter into 21cm tube pan. Tap the pan twice on the tabletop to remove excess air bubbles and bake at 170deg for about 50min or till done.
8.  Turn tube pan over to cool before cutting.